Showing posts with label DIY. Show all posts

Tuesday, December 4, 2018

Fire Fighter First & Fourth Birthday!!


DIY Fire Truck Costume


 Fire Truck Pinata:  Same/ Similar 1/ Similar 2

DIY Cup Stickers:  Similar/ Cups with Sticker


 Acrylic Cupcake Display:  Round/Square

 DIY House on Fire Cake

DIY Firetruck Cake

Hi there!  Wanted to write a quick blog post about my 2 youngest boys' fire fighter birthday in the fall!  I love planning parties for them.  It's such a great way to bring together family and friends and even reconnect with some people we haven't been able to see due to schedules. 

This one was so much fun!  I tend to choose themes to make things easier for me to plan.   I did a lot of DIY like the firetruck costumes.  I made 10 of them and they were a hit!  I also DIY'd the cakes however I used a box cake mix hack to make my life easier.  This was my first time using fondant to cover the cake and I was pretty proud of the results for a beginner! 

Hope you enjoy the photos! 


Monday, May 15, 2017

DIY: Upcycled Antique Vanity with Metallic Paint


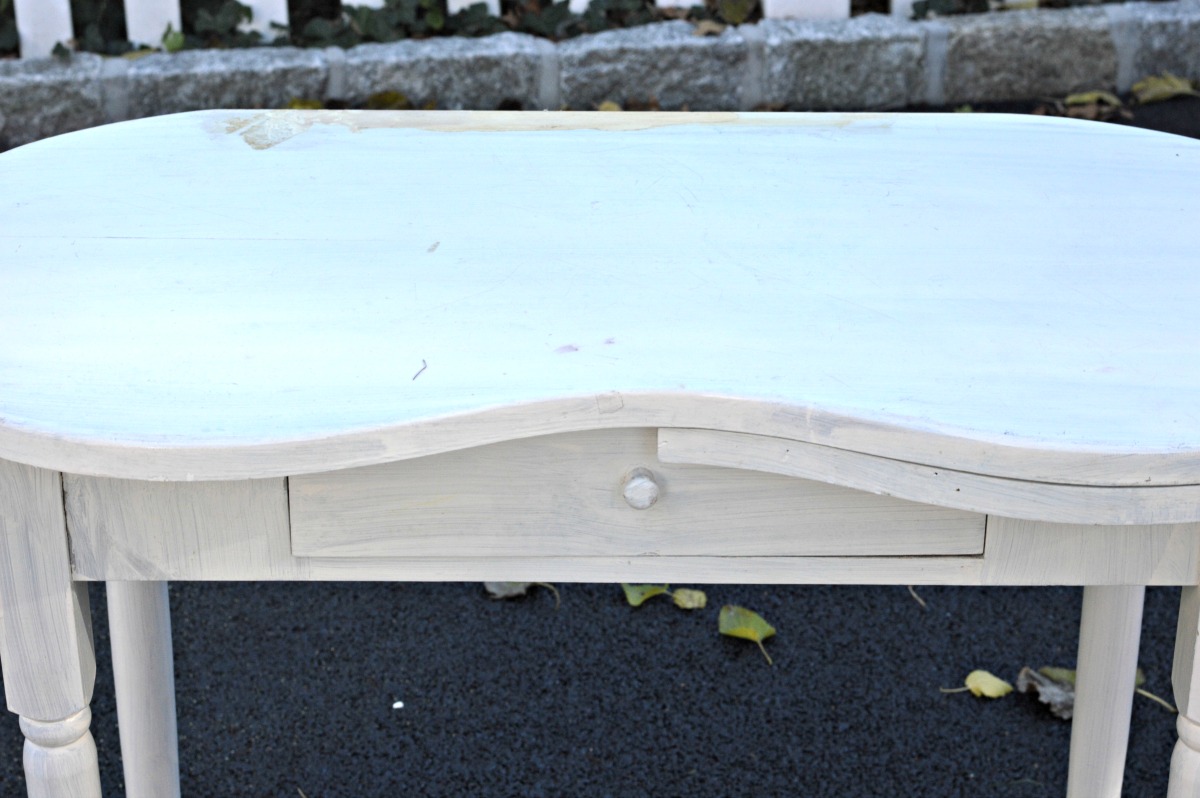
My grandmother's antique vanity has been sitting in my bedroom for quite a long time with a mirror covering the top to hide the imperfections.  Every time I looked at it I kept thinking it needed a face lift.  Originally my father had painted it years ago when I was a teenager.  I have a sort of obsession with taking old meaningful furniture and upcycling with a more modern feel.  Unfortunately, it usually takes me forever to turn my ideas into reality...not going to lie, it took me a few months to finish.  More because I was busy with the kids and needed a longer screw to fit the new pull.  However, this is a really easy project and if you have the time it can probably be accomplished in a weekend.

I'm really excited about this project because it was sentimental and helped pull my bedroom together.  It's also where I spend a lot of time in the morning getting ready so why not make it pretty?!

Here's what I needed:

BEFORE


AFTER


I was very happy with the results!  Just some tips that I learned while tackling this project:

  • I attempted to use my paint sprayer with the metallic paint.  This proved to be difficult because the paint is so thick and even though I thinned it out the spray tended to come out spotty and sloppy.  I've read a few other blogs about using a sprayer with metallic paint and either a professional sprayer was recommended or none at all.
  • I also attempted using a roller.  Modern Masters recommends  using a 1/2" thick nap roller.  I didn't like the way the paint laid on the wood either so I moved a the bristle brush.  This seemed to work the best for me and the brush strokes didn't bother me.
  • For more tips using Modern Masters Metallic Paint here is a link to a Metallic Paint How To blog post.

Happy Upcycling!


Tuesday, April 4, 2017

Surprise! A Yankees Themed 40th Birthday Bash & Gender Reveal


Hello!!!!  I'm baaaaaack!  Finally feeling good enough to return to normal operations!  So, for the last few months I've been out of commission....with our 3rd bundle of joy!  Being ill has really put a damper on my days however this is all par for the course with my pregnancies.  I will say, it has been different this time having 2 little boys to keep up with so my energy level doesn't feel the same.  However, I'm happy to say about 18 weeks into pregnancy I'm starting to feel more like myself.  Yay!!

When we found out we were pregnant we wanted to do something fun to announce the gender.  With our first we waited to find out until he was born.  With the second we found out after doing genetic testing so we could talk about it with our son.  And for our 3rd (and probably last) we wanted to really celebrate!

My Husband's 40th birthday was coming up so we thought it would be fun to do a gender reveal surprise with most of our family around!  Since my hubs is a HUGE Yankees fan I settled on a Yankees theme and started collecting items and ideas with my boys.  I think they were pretty excited about the baseball theme also ;).


The centerpieces were made with wide mouth ball mason jars, ribbon, and numbers that were cut out with my cricut exlpore dye cut printer.  The jars were filled with green easter basket grass, soft baseballs, baseball bat pens, and Yankee flags.  I combined that with a picture of my hubby in his younger years and some blue, grey, and white m&m's.


The baseball Chinese lanterns were an easy DIY made from white lanterns and red fabric pen.  I hung them with Command Hooks decorating clips (love that stuff).


The utensils were held in ball mason jars covered in squares of white fabric tied on with string.  I DIY'd the red stitching using a red fabric pen.


The photo board of cute pics of my adorable hubby through the years was made with navy foam board, baseball themed ribbon, mini clothespins, and held together with a glue gun.  Pretty simple but stayed with our Yankee Baseball themed party.


The cookies and cake were made by Beascakes in Armonk, NY.  This is one of our favorite bakeries and they never disappoint!


It's a BOY!!!!  

We had so much fun and all our family and friends were totally surprised by the gender reveal!  I definitely recommend doing something fun if you want to reveal your baby's gender, especially if you have other children.  My oldest son really wanted a sister so when my husband cut the cake he said "I think the baker made a mistake"....HA!  He's gotten over the shock and is now pretty excited!

Happy birthday and reveal to my sweet hubby!!


Tuesday, December 20, 2016

Easy Mini Gift Basket for Coworker Gifting


I always try to show a little appreciation to my boss and coworkers around the Holidays by giving a small gift.  I've never felt a gift had to be expensive or elaborate but I find something that is thoughtful or well put together is just as appreciated.  This year I was having a hard time figuring out what to get.  In the past I've given or received small candy dishes filled with candy, poinsettia plants, boxes of chocolate, and mugs filled with candy, hot chocolate, or coffee.  I like the idea of food because who doesn't appreciate food?  It's also pretty generic but can be made into something thoughtful.

So what did I do?  First, I put my oldest son to work making caramel chocolate candies.  You can find the recipe I used here.


I bagged up the pretzels in individual small bags.  I then went out and purchased small boxes of chocolate truffles, mini panettone, and 187 mL bottles of sparkling wine.  I took a festive cardboard cookie tray, filled it with red paper crinkle and placed the items inside the tray.  Then I covered with plastic wrap and tied it with a bow. Voila!


This mini gift basket was soooo very easy and my coworkers loved it.  You can always nix the home baking and just add purchased items which makes it even easier.

We had a lot of fun making these mini gift baskets and I had even more fun delivering them to my coworkers!  Happy Holidays everyone!!


Tuesday, October 18, 2016

DIY: Boo-tiful Lamp Post Ghosts


Halloween is such a fun time for the kids!  My 4 year old actually used to refuse to wear a costume when he was younger.  One year he went trick or treating as himself...ha!  I try to decorate with fun not too scary Halloween decor.  A few years ago I started making DIY Lamp Post Ghosts!  It is sooooo easy and really cute!  My kiddos love them, especially at night when they are "glowing".


What you need:

Steps:

Cut the tulle so it can lay over the top of the lamp and reach the bottom (or however long you want it) on both sides.  


Tie the ribbon around the base of the lamp to secure the tulle.  


Glue the googly eyes on and voila...all done!  Wasn't that easy?!


Have a Spook-tacular day!!!


Saturday, September 3, 2016

He's Two Two!!! A Choo Choo Themed Birthday

Happy Birthday to our Little T!!!  I can't believe 2 years flew by so quickly.  I love planning parties for my boys (or really for anyone or anything)!  It gives me the opportunity to spoil them, get my creative juices flowing, and savor in those moments that you just want to keep forever.


We decided on a "Choo Choo" or "Two Two" themed birthday party because seriously, what little boy doesn't love a train!  My Little T is obsessed so instead of keeping with a popular cartoon train theme we labeled it a "Two Two" party!


The TWO TWO themed party supplies were so adorable!  I bought mine as individual items but there is also a party pack serving 16 people.


I made the cupcake wrappers with my Cricut Explore cutting machine. I use this item regularly and they also sell a wireless one as well called the Cricut Explore Air.  If you love to DIY and are interested in a easy to use dye cutter I highly recommend the Cricut Explore.  There are also so many great tutorials on the web.

If you don't love to DIY but love all these cute accents I also found some train cupcake wrappers here, here, and here.


Little T's Two Two T-shirt was found here.  It fit true to size and was soooo adorable!  It's sold in multiple colors.  Other options are here, here, and here.

Below are some other train party supplies I was loving:


Blog Design by Get Polished